 Our first app, Migrato, is live on the Shopify App Store

Import and Migrate products via CSV and XLSX Files
Migrate product data into Shopify from a CSV or XLSX file built on the Migrato Product Template. 7 min read
 Updated 13 October 2026
 Applies to Migrato on all plans
Migrato provides migration features that help you transfer Shopify data from external files, FTP/SFTP sources, or another Shopify store. You can use migration workflows to import product data in bulk, transfer product files from external systems, migrate data between Shopify stores, and move supported Shopify content from one store to another.
Migration can be useful when setting up a new Shopify store, moving data from an existing platform, transferring products between Shopify stores, updating large product catalogs, or moving supported store content in bulk.
Review the relevant Migrato template documentation, prepare a backup of the source data where appropriate, and test the migration with a small dataset before processing the complete dataset.
What you can migrate
Migrato allows you to import and migrate Shopify product data using CSV and XLSX files.
This method is useful when product information is already available in a spreadsheet, when migrating products from another platform, or when product data needs to be prepared and reviewed before being imported into Shopify.
You can use a product file to migrate information such as:
-
 Product details
-
Product handles
-
Product descriptions
-
Vendors
-
Product types
-
Tags
-
Variants
-
SKUs
-
Prices
-
Inventory information
-
Product images
-
Collections
-
Metafields
-
Other supported product fields
The fields available for migration depend on the current Migrato Product Template and the Shopify data supported by Migrato.
Step 1: Prepare the product file
Prepare your product data in a supported file format: CSV or XLSX.
Use the Migrato Product Template as the reference for column names and expected values.
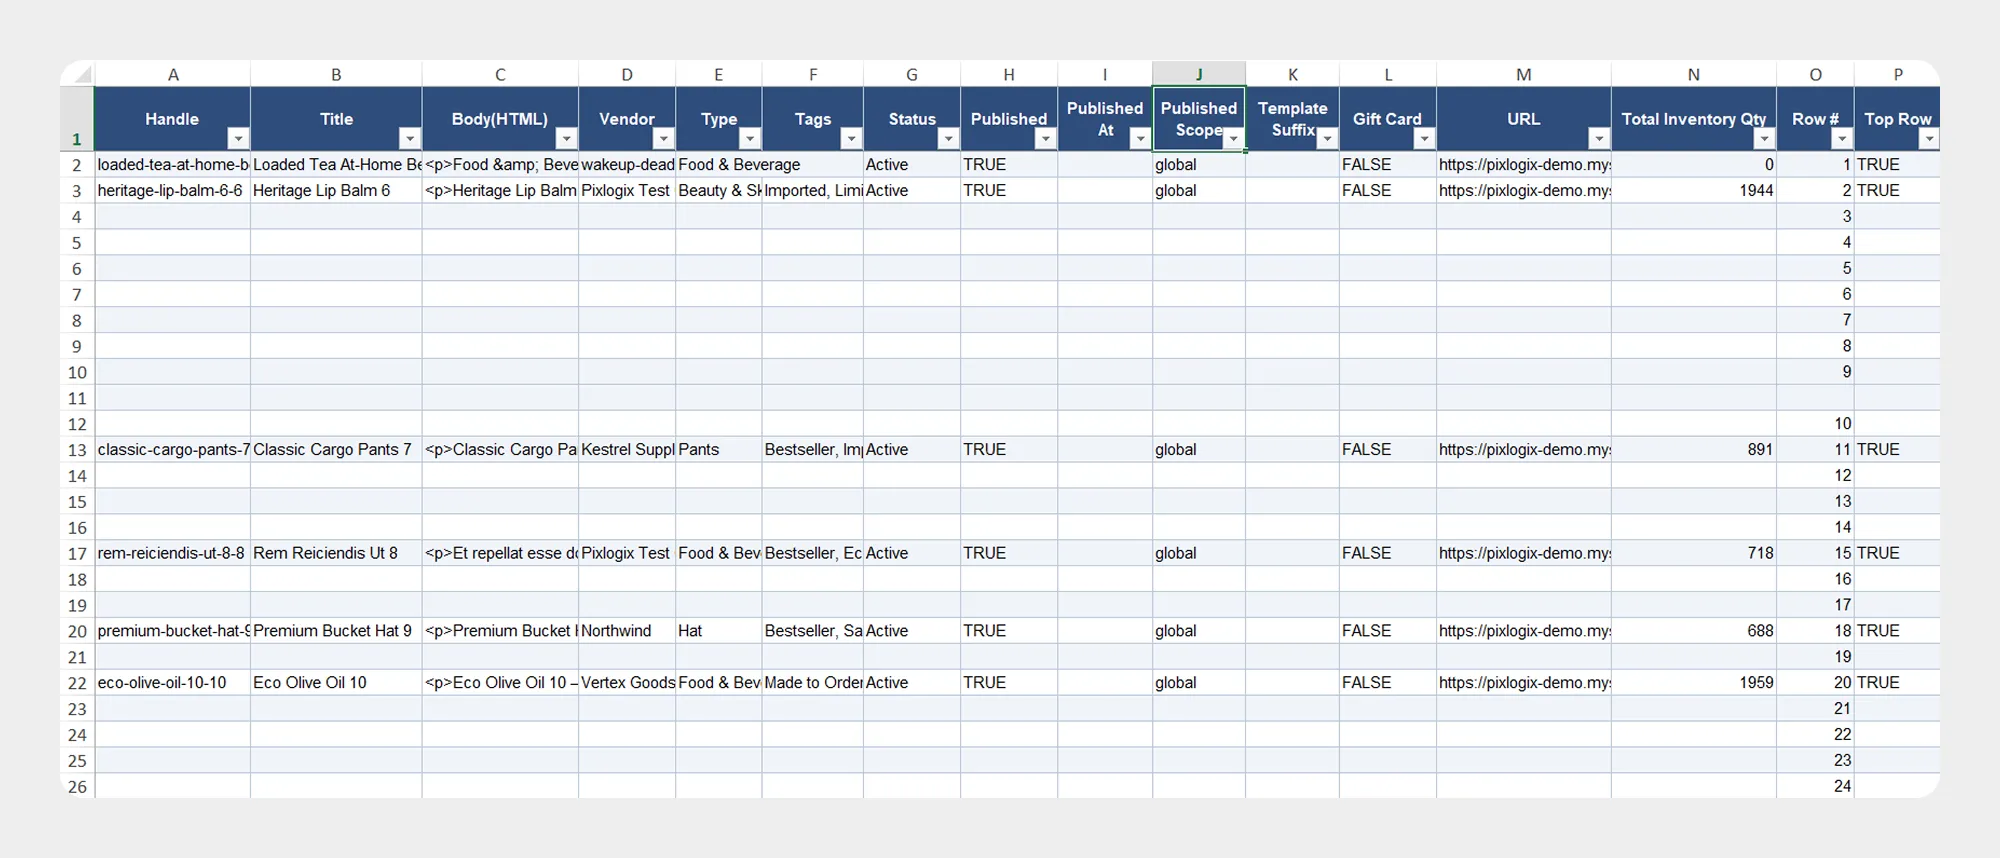
Make sure that:
- The required columns are included.
- Column names follow the Migrato template.
- Product and variant information is structured correctly.
- Values are entered in the expected format.
- Image URLs are accessible if products contain external images.
- Existing product identifiers are retained where required for updates.
Step 2: Open product import
From your Shopify Admin:
- Go to Apps → Migrato.
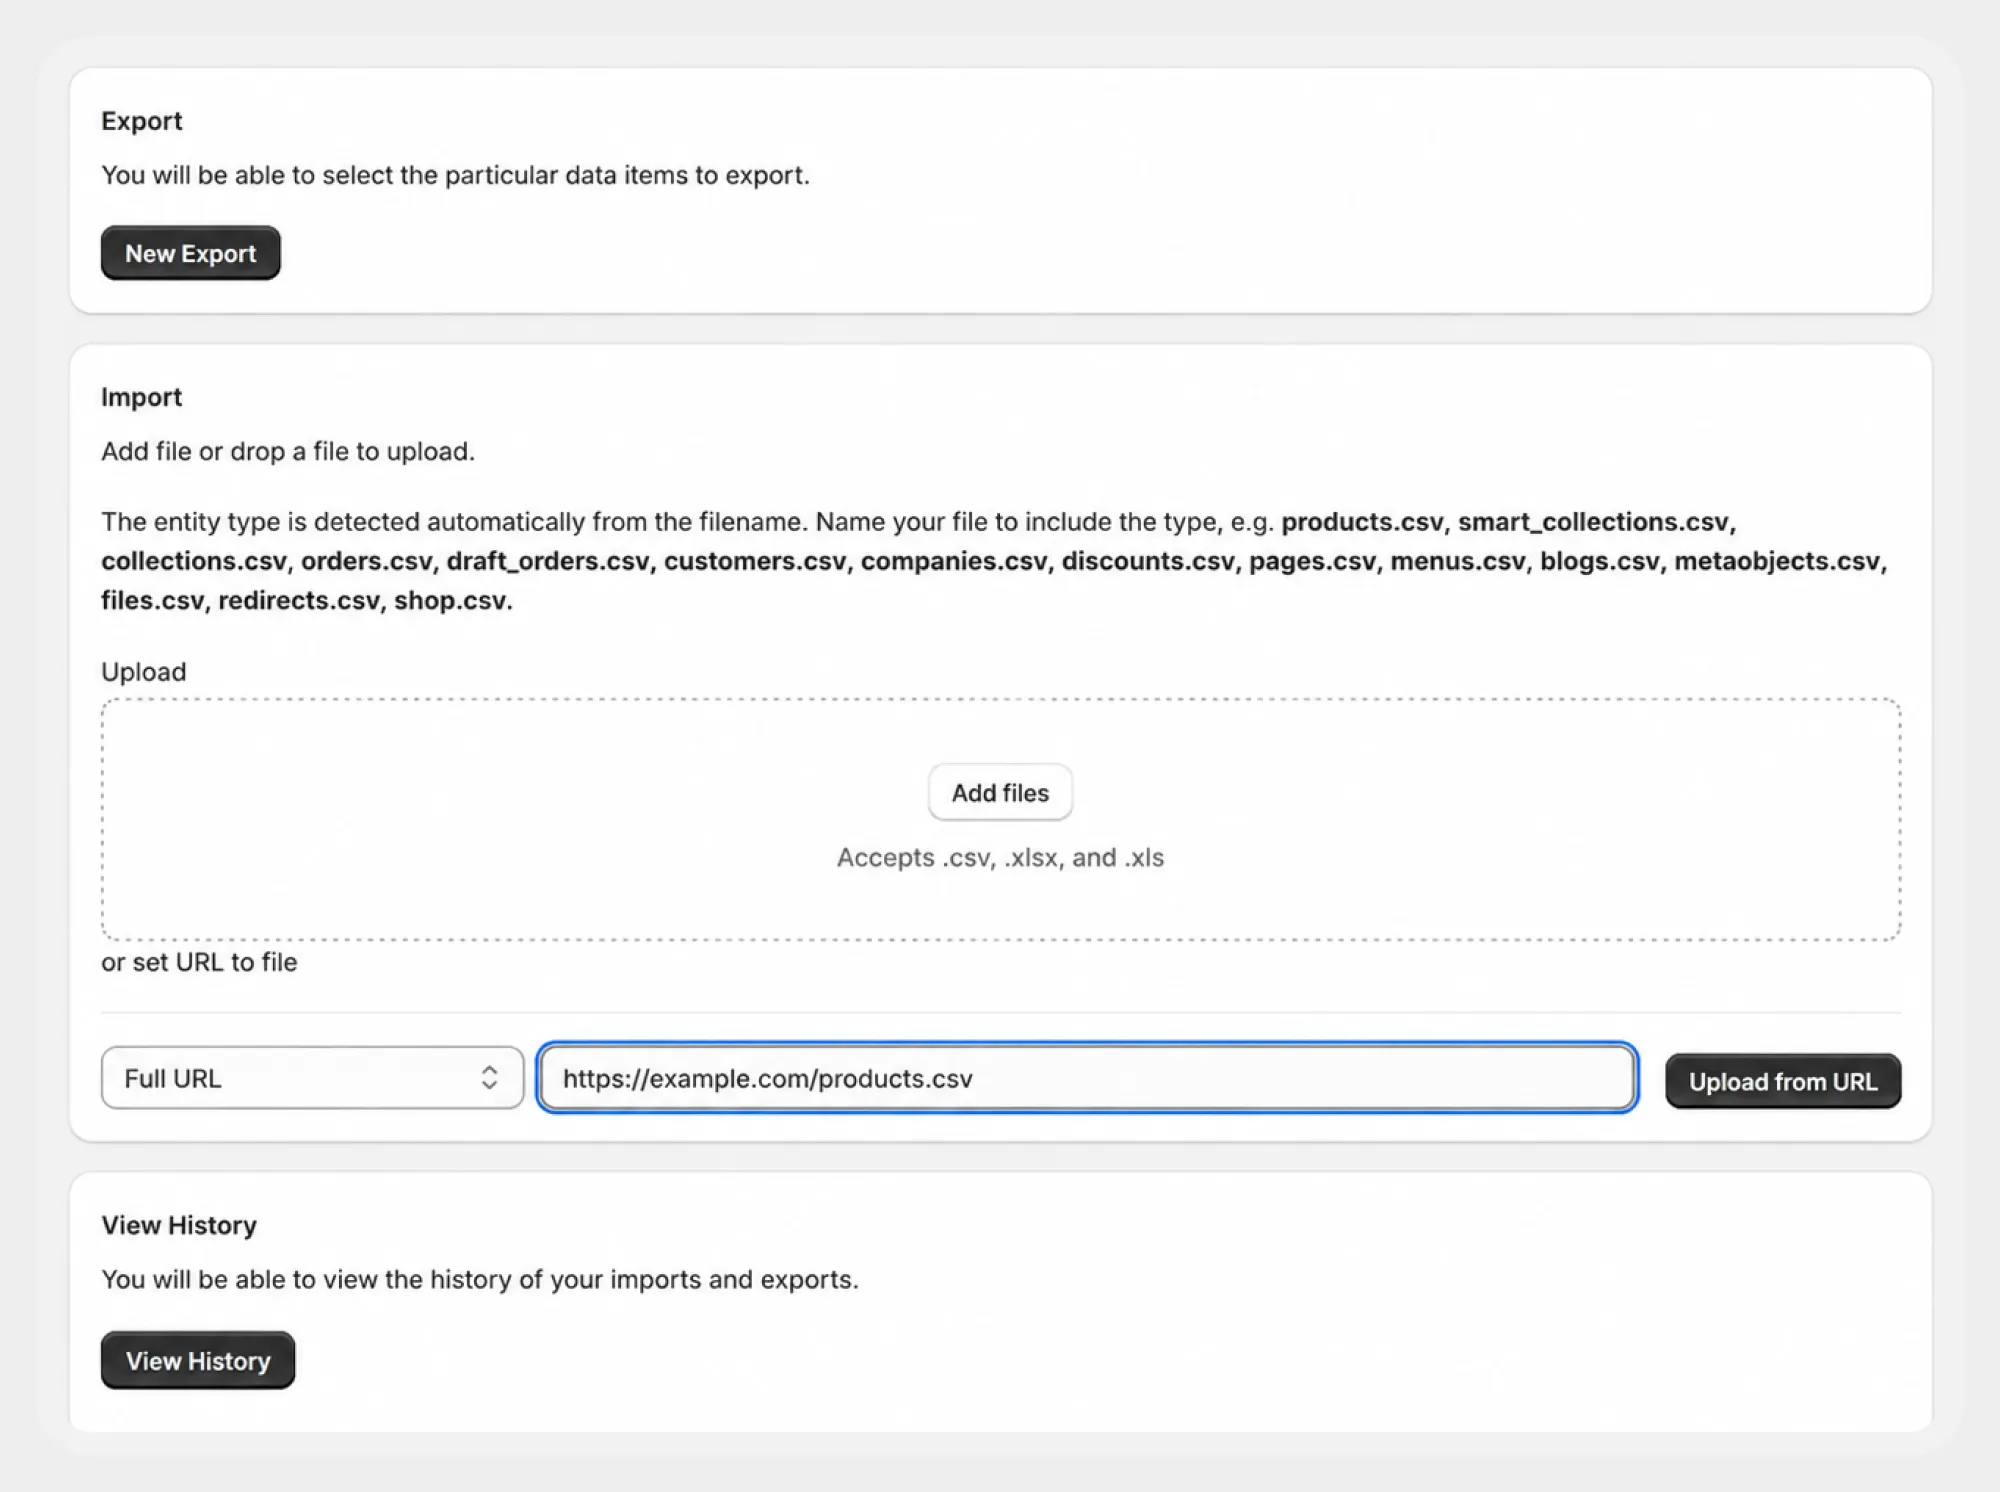
- Open the Import section.
- Select Products.
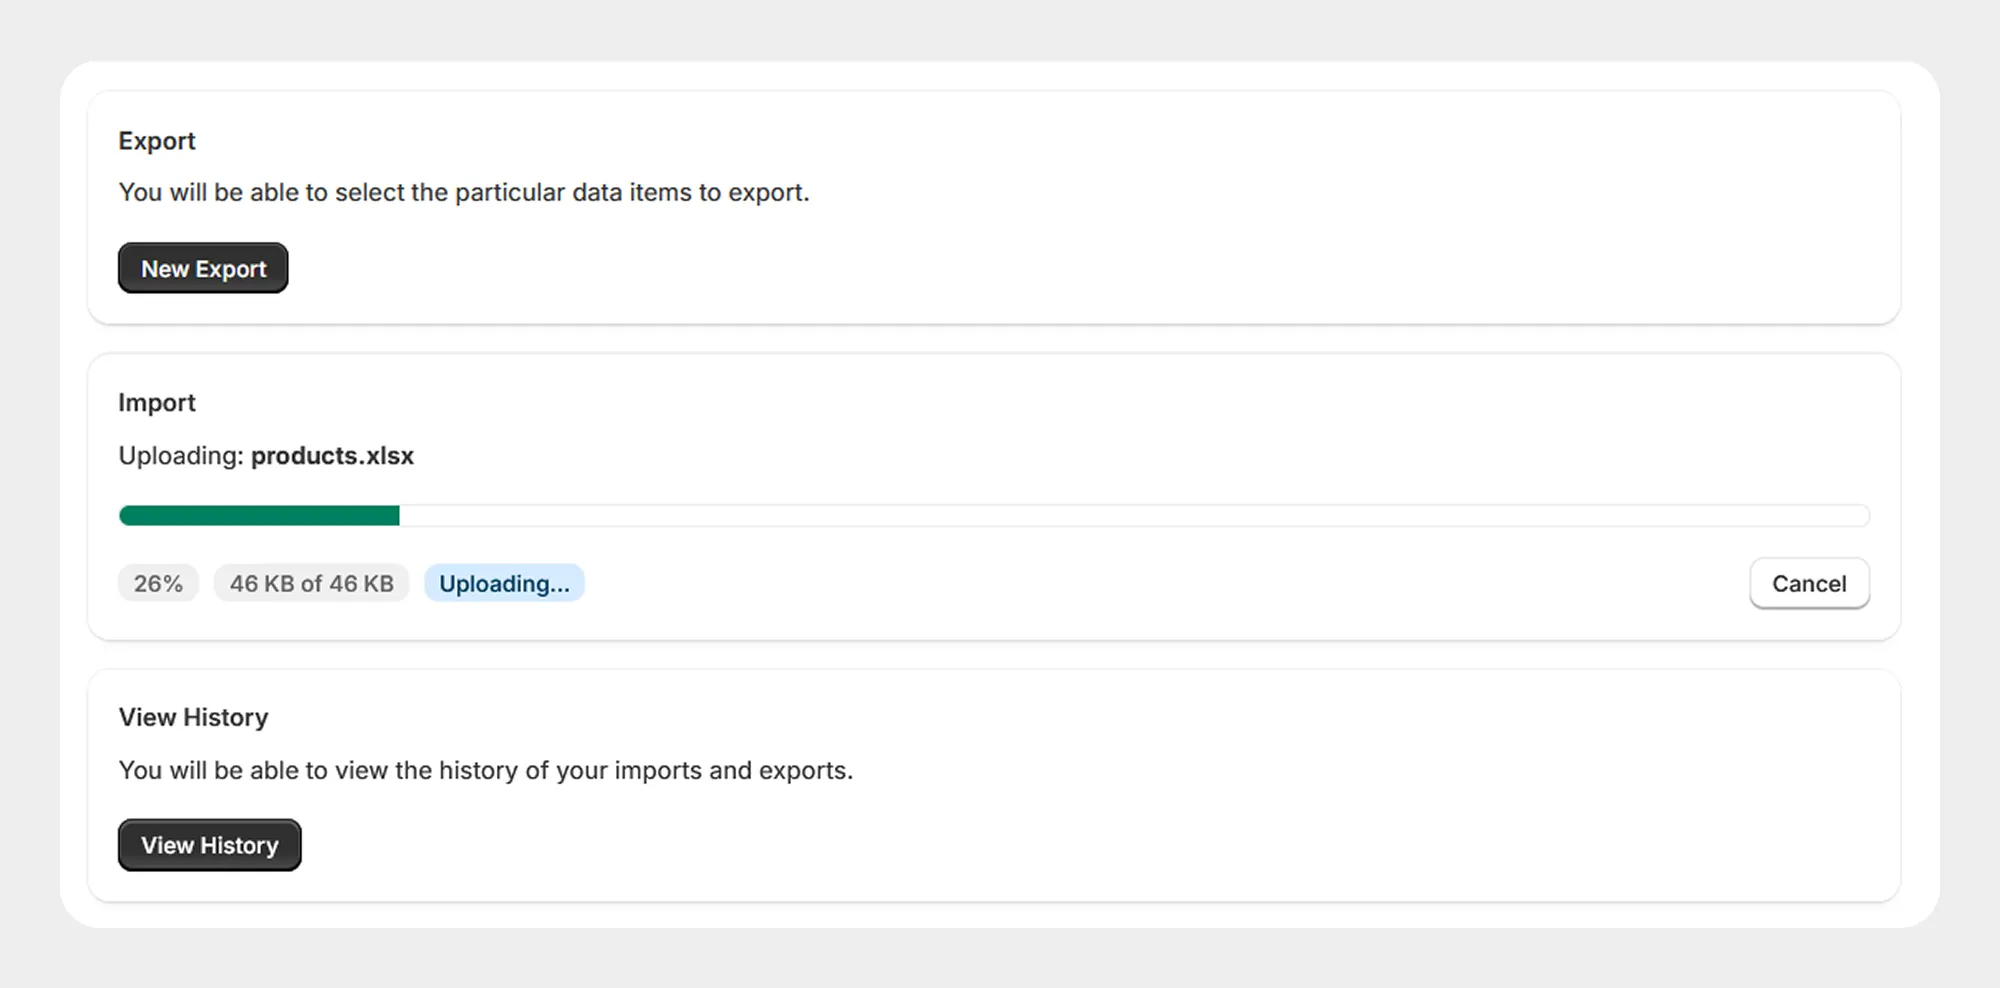
- Upload the prepared product file.
Step 3: Upload the CSV or XLSX file
Migrato supports importing product information from a CSV or XLSX file. You can upload the file through the import interface.
After the file is uploaded, Migrato reads the available sheets and product data.
Step 4: Review the product data
Review the imported product sheet before starting the migration.
Check:
-
Product rows
-
Product identifiers
-
Handles
-
Variant information
-
Image URLs
-
Prices
-
Inventory
-
Collections
-
Metafields
-
Other supported product fields
Correct the source file if any required information is missing or incorrectly formatted.
Step 5: Select the migration operation
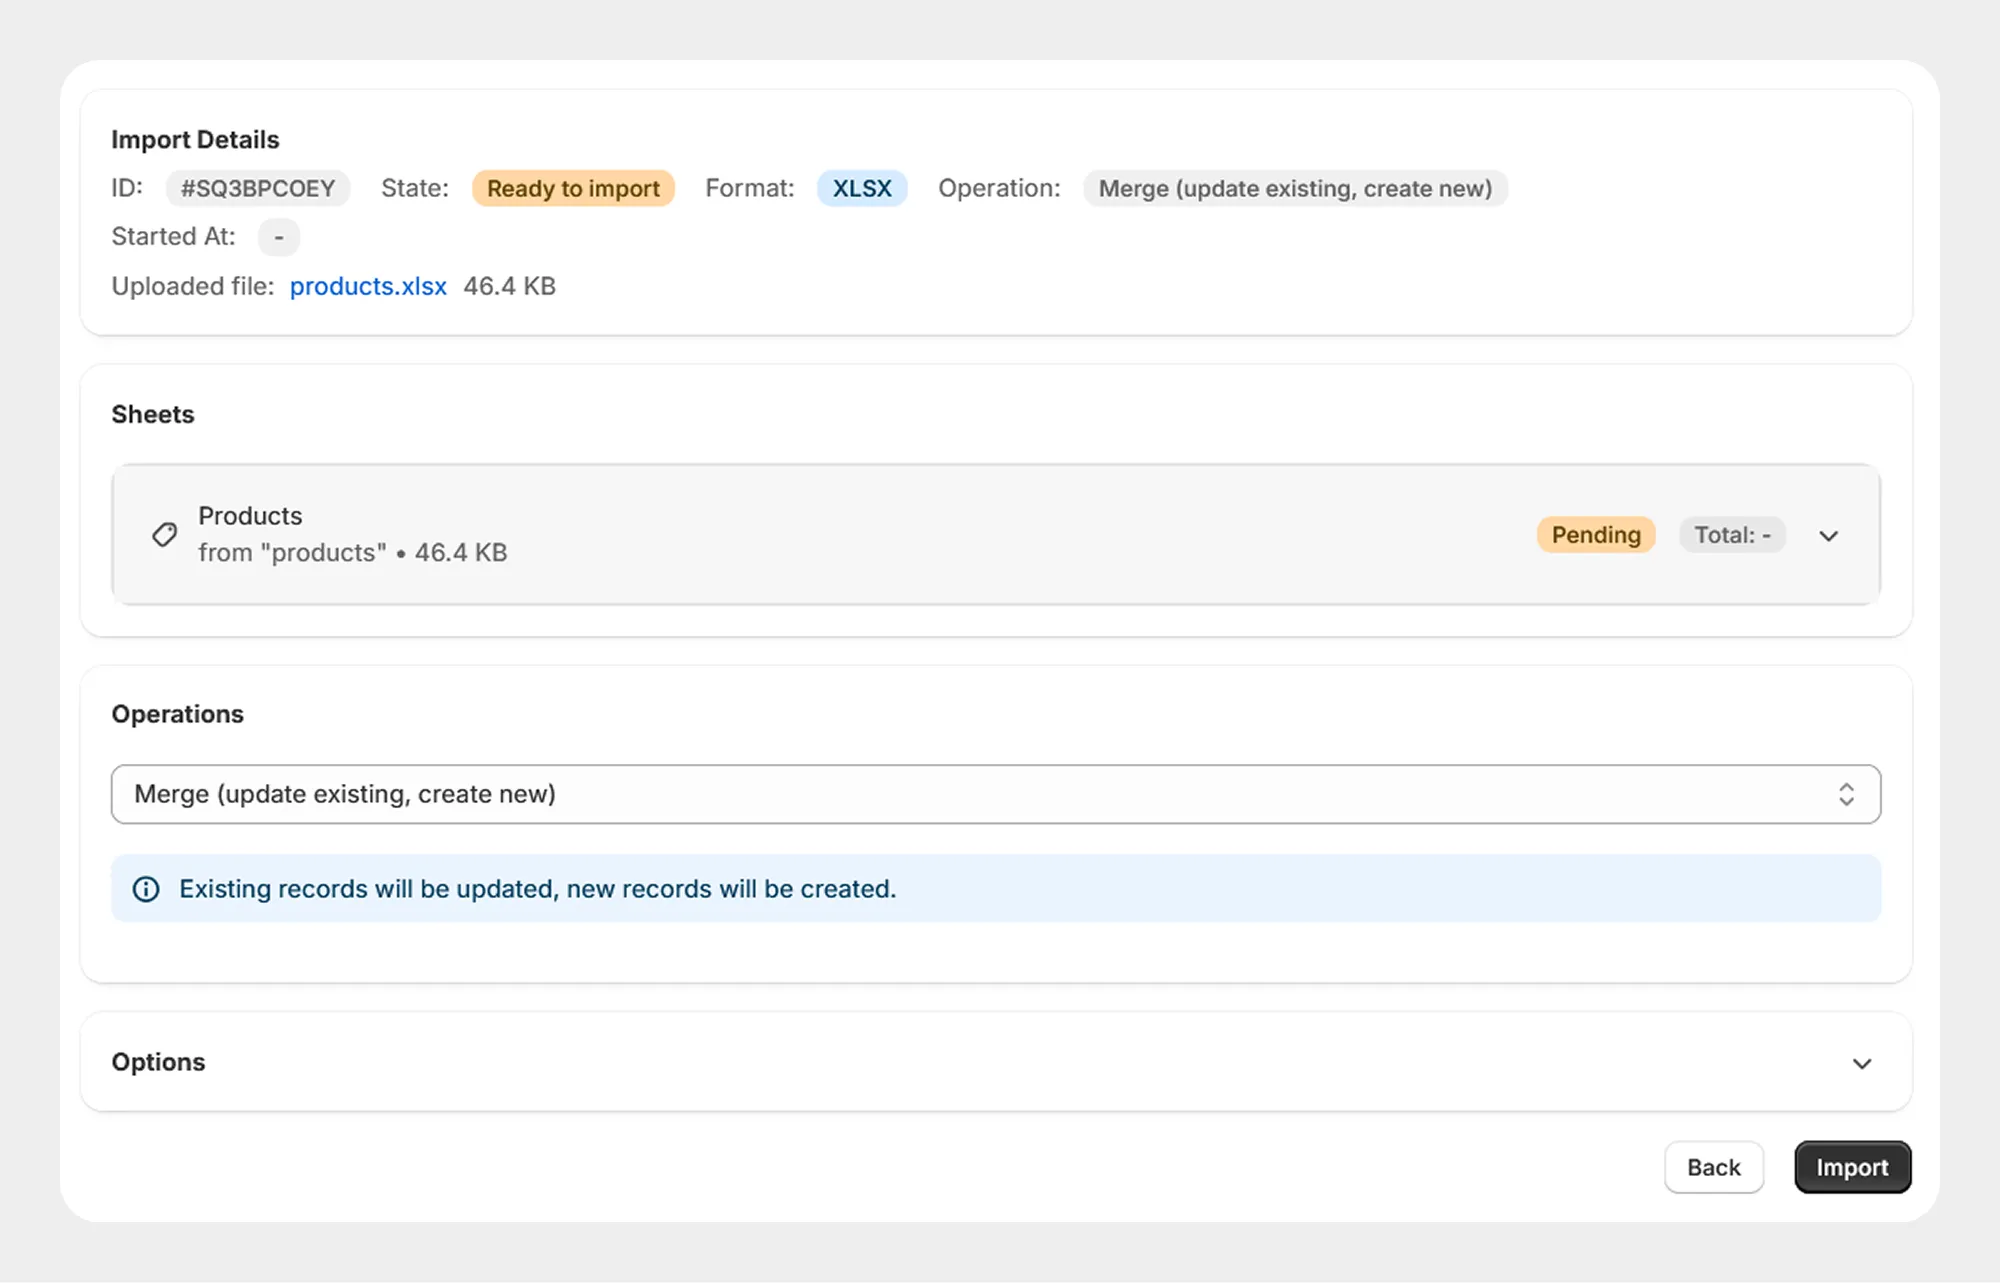
Select the appropriate operation based on how you want Migrato to handle the product records.
Depending on the supported configuration, operations may include:
| Operation | Purpose |
|---|---|
| Merge | Updates existing products and creates new products. |
| Create only | Creates new products and does not update existing products. |
| Update only | Updates matching products without creating new products. |
| Replace | Replaces matching existing product records with the imported data. |
| Delete | Deletes matching product records. |
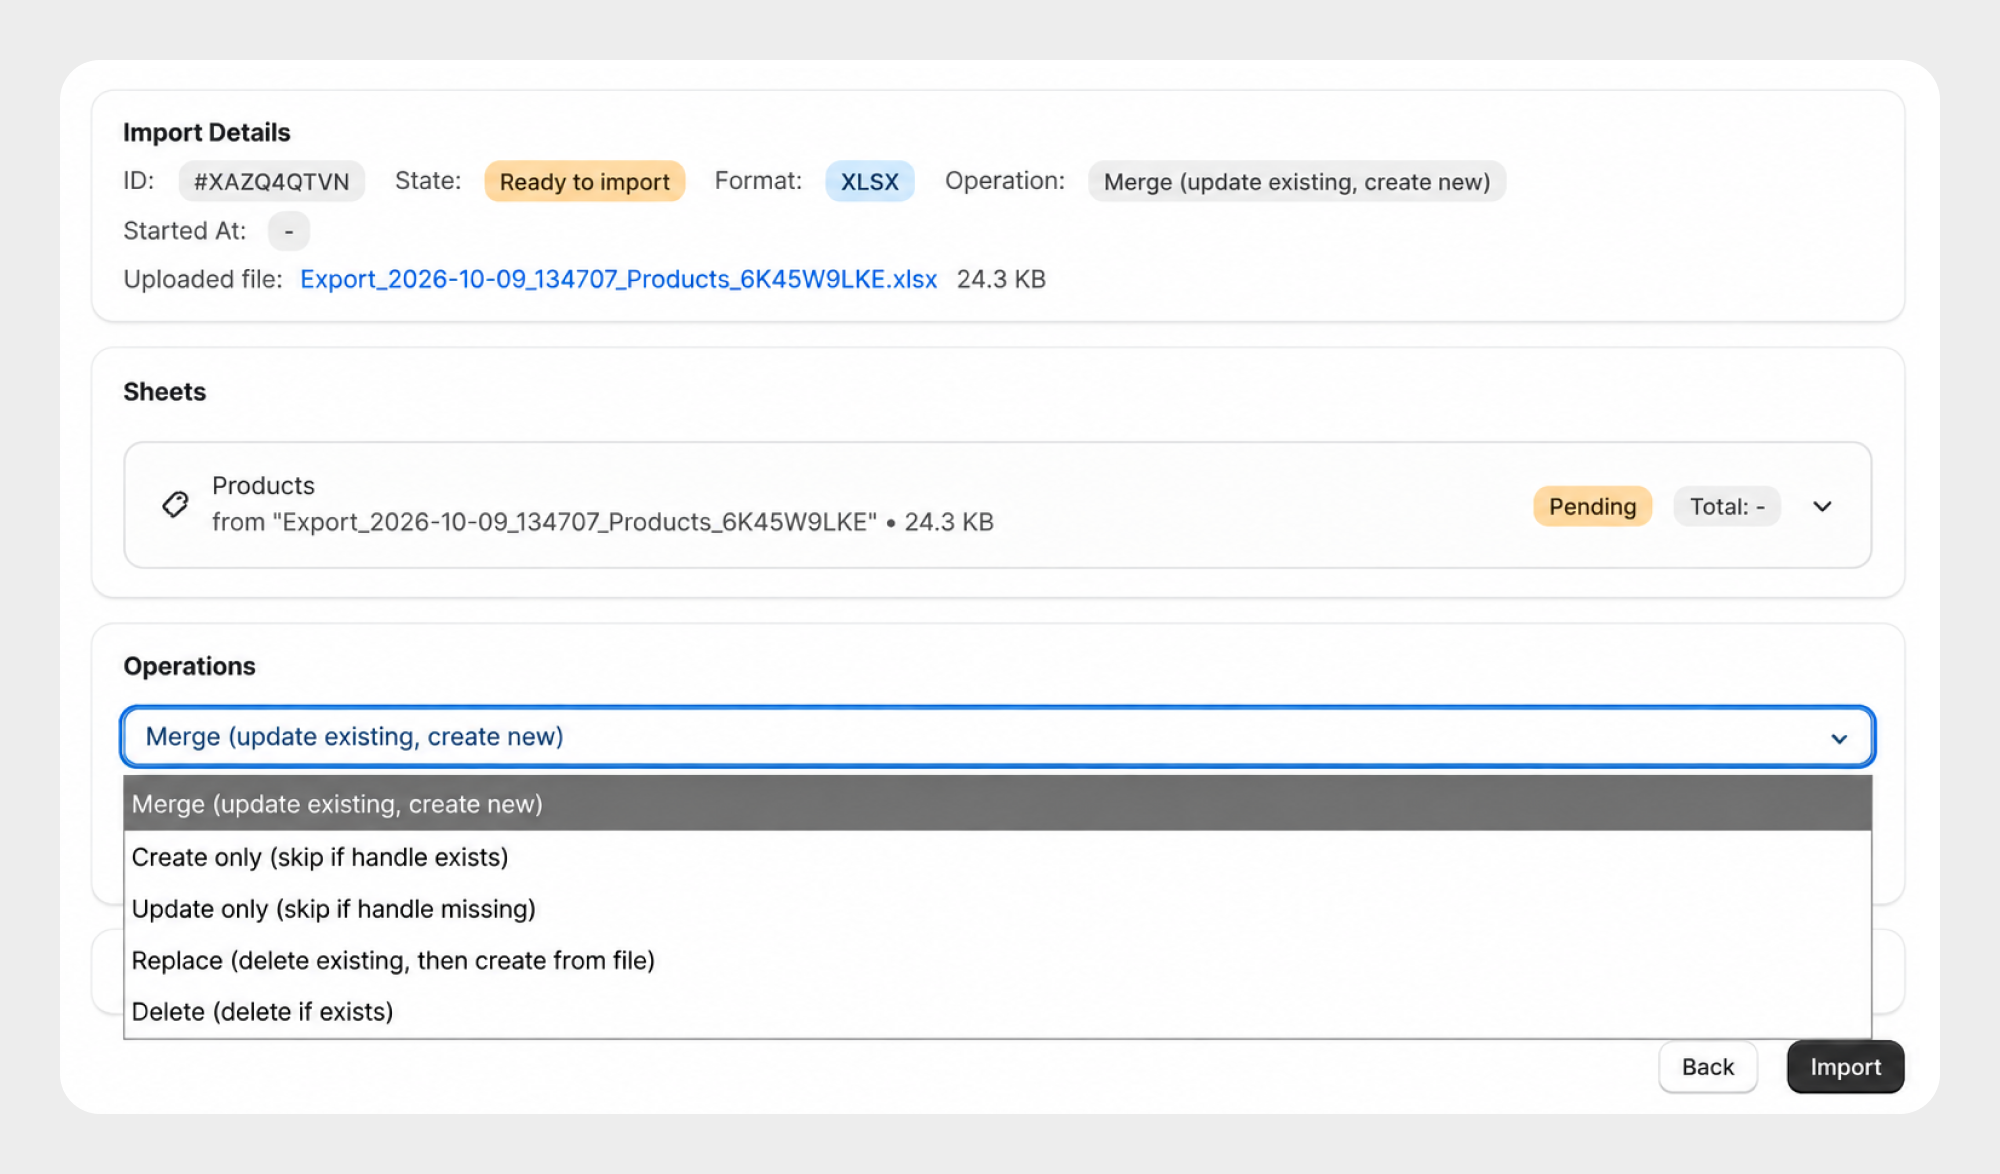
Carefully review the selected operation before starting a migration. Extra care should be taken when using Replace or Delete.
Step 6: Configure import options
Open the Options section to configure additional settings available for the product migration.
Depending on the Migrato configuration, options may include scheduling and result-file settings.
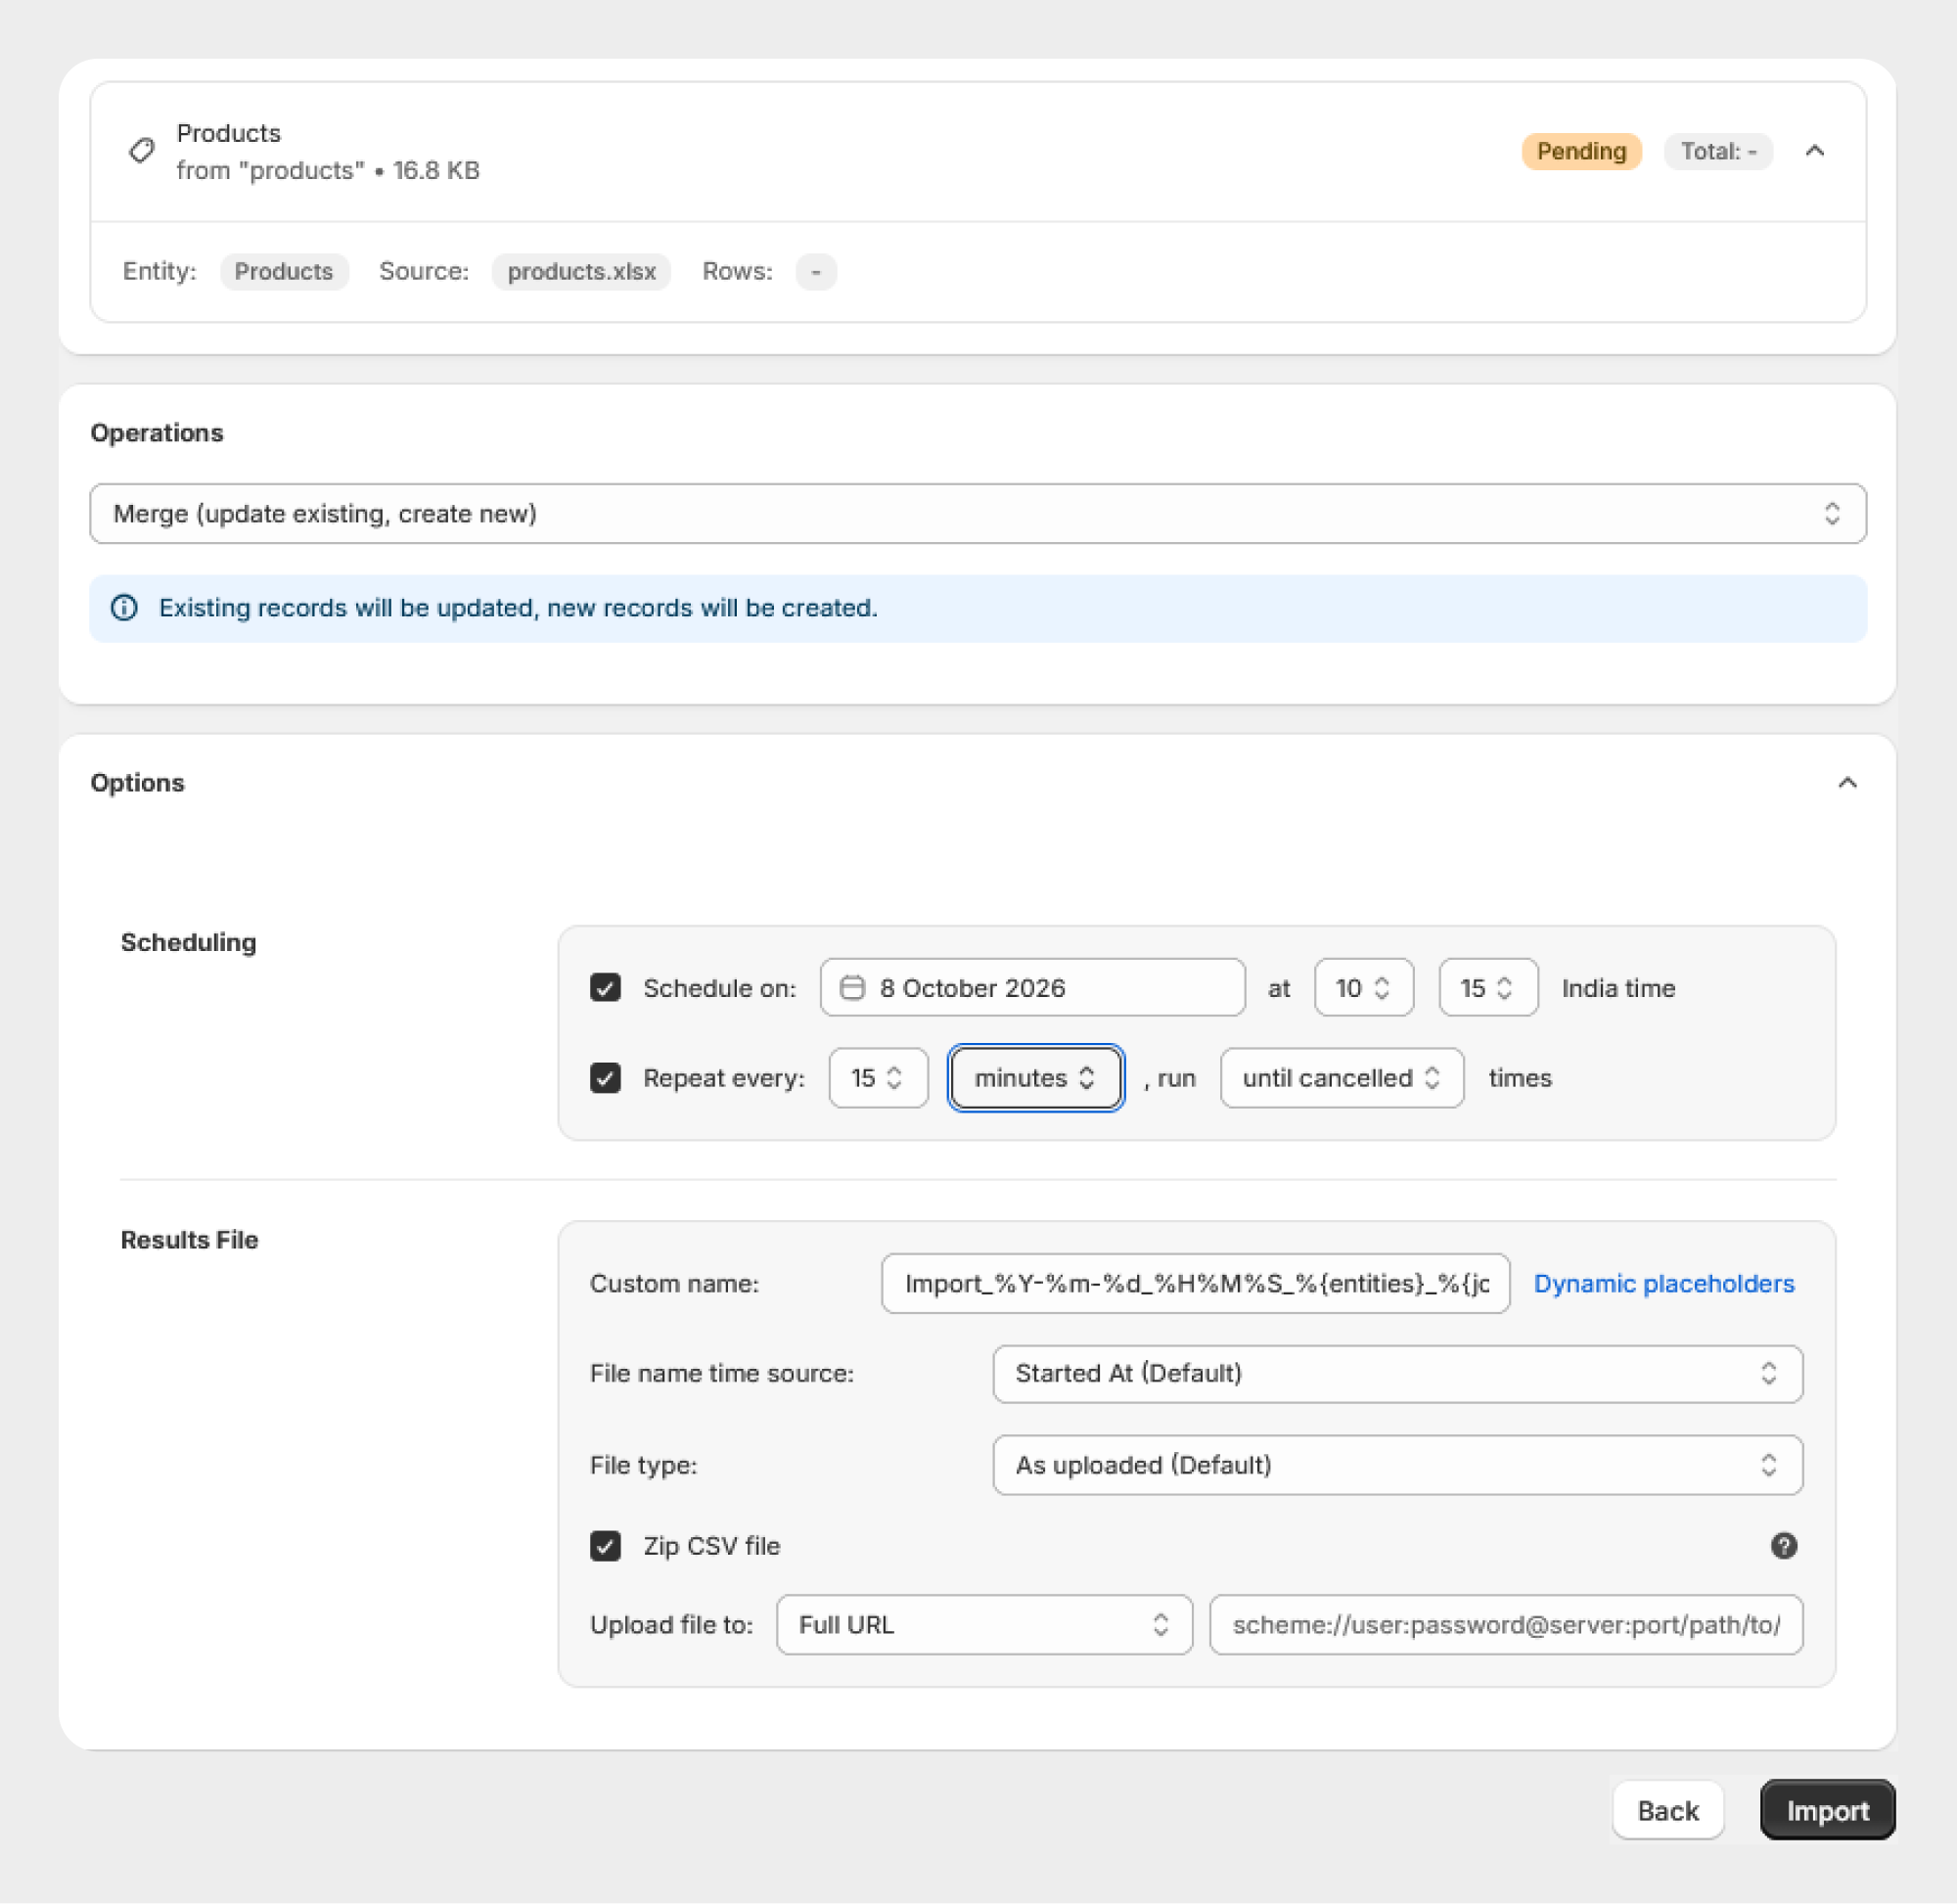
Step 7: Start the product migration
After reviewing the product data and selected operation:
- Review the imported file.
- Confirm the selected operation.
- Review the available options.
- Click Import.
Migrato will process the product migration.
Step 8: Monitor the migration
Migrato processes the migration as a job. You can monitor the job status and processing information from the All Jobs section.
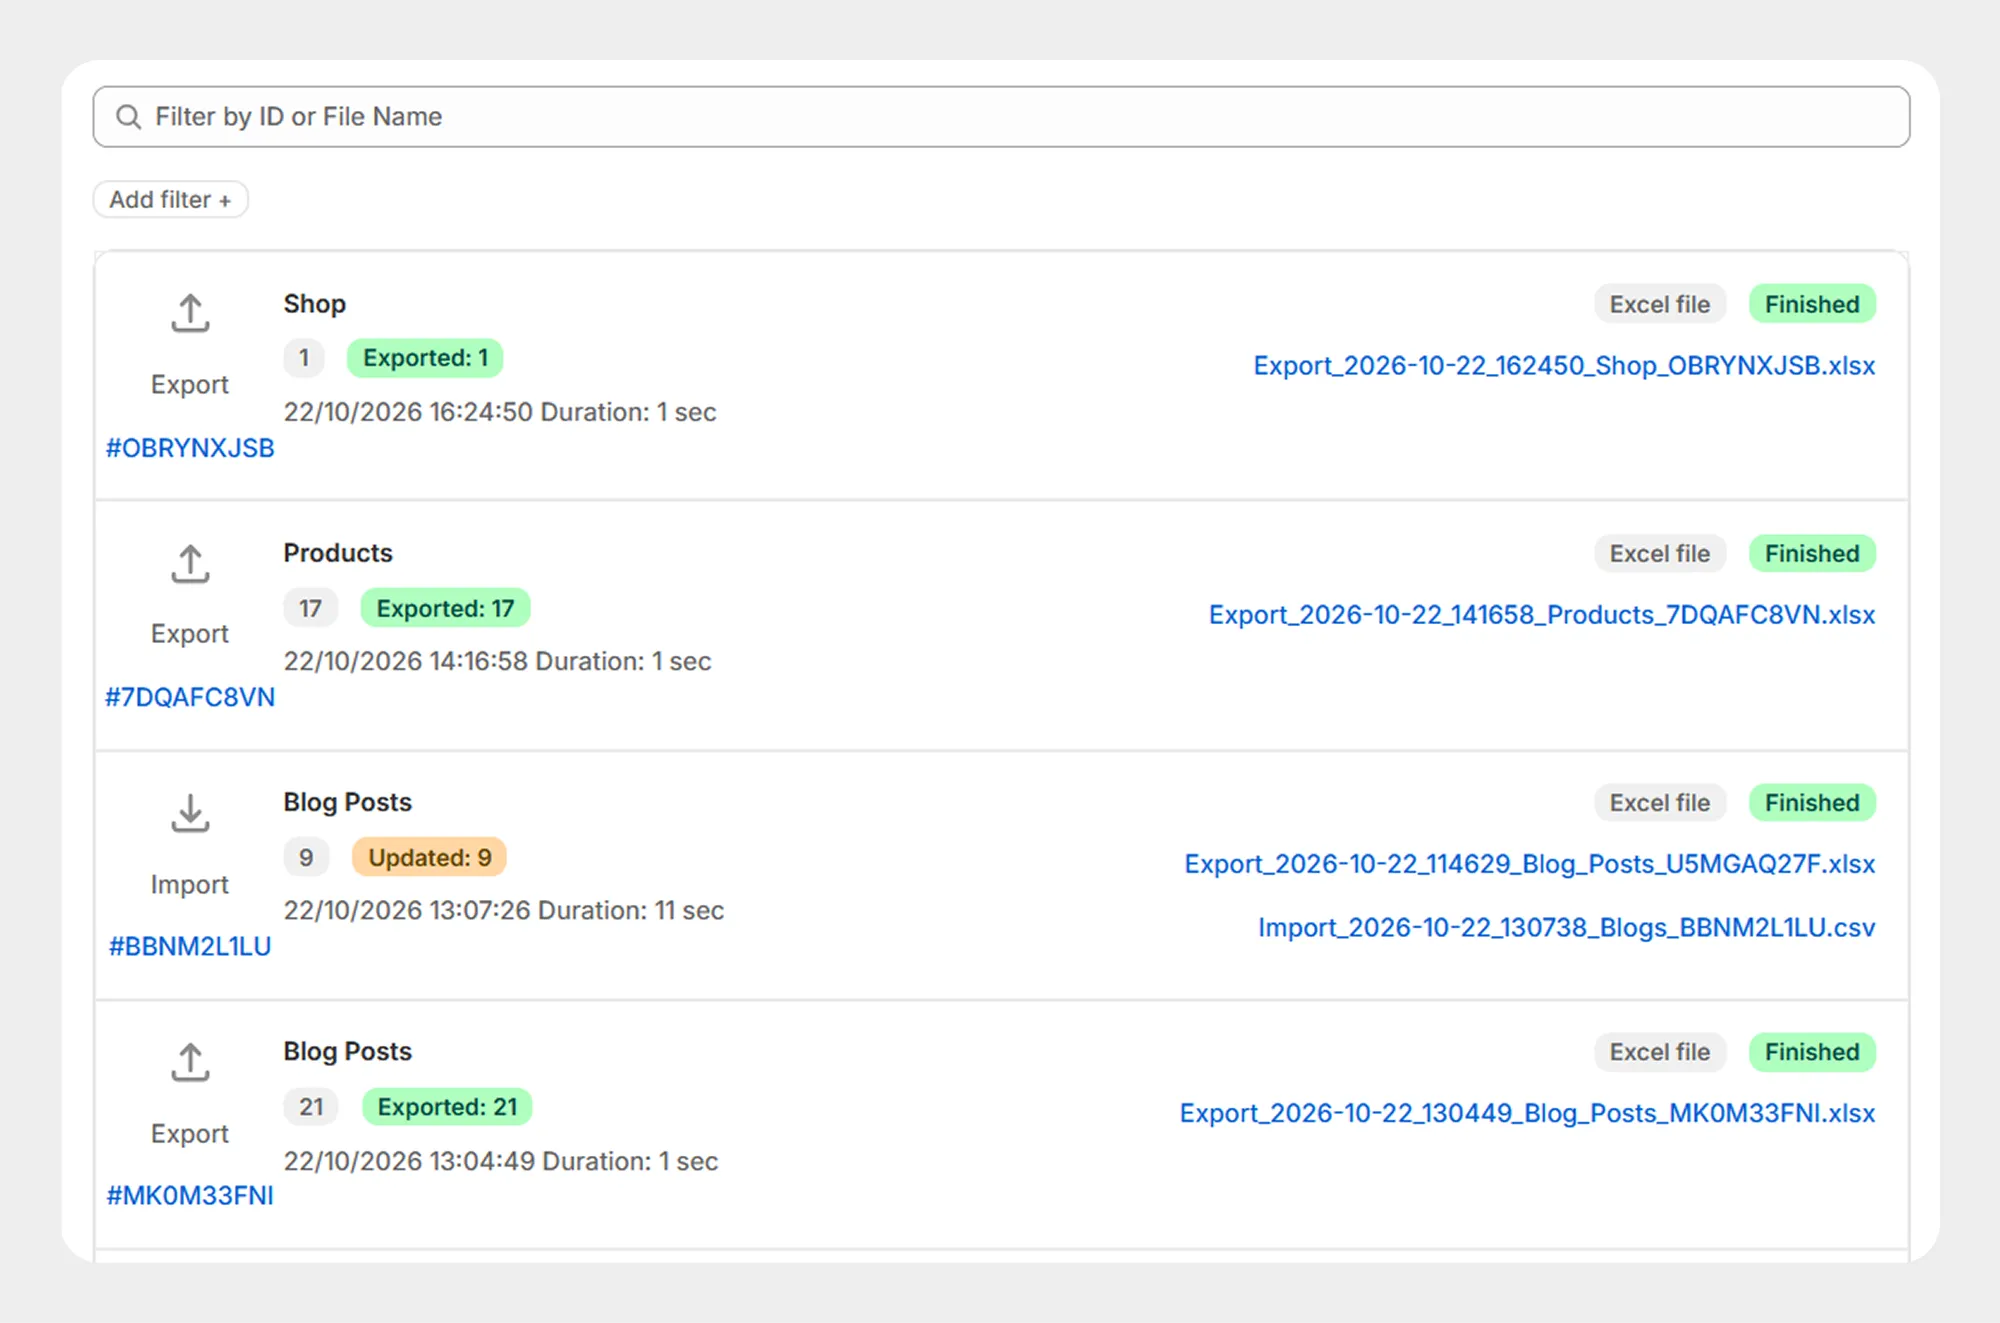
Step 9: Review migration results
After the migration is completed, review the import results.
The results can include:
-
Total records
-
Successfully imported records
-
Failed records
-
Skipped records
-
Processing duration
-
Error information
-
Result file
If errors are reported, correct the source data and run the migration again.
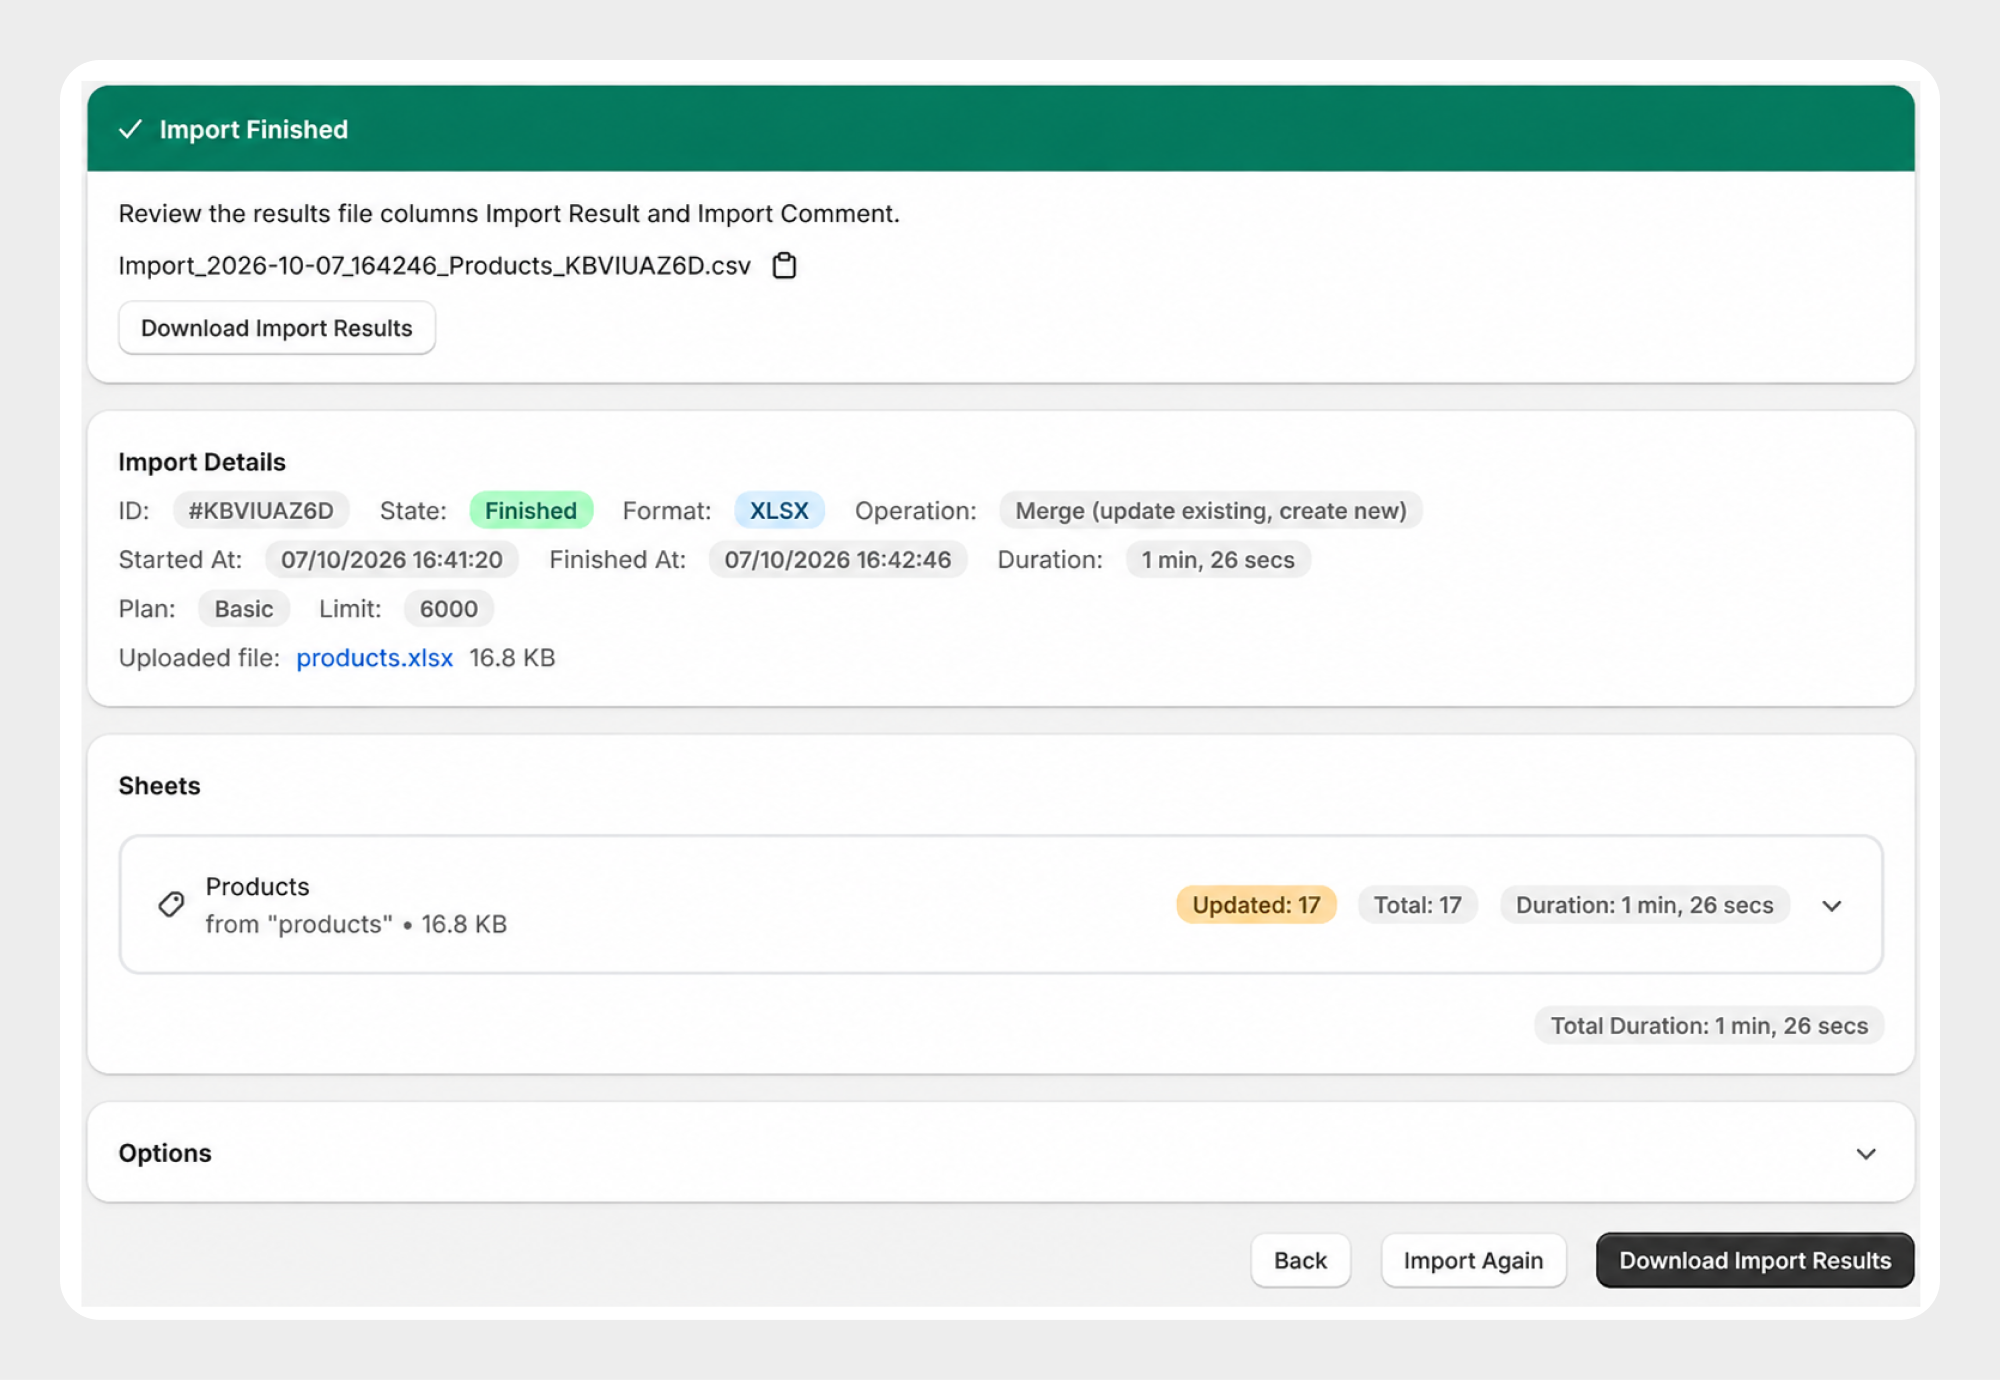
Example: Product migration using XLSX
A typical product migration workflow can be:
- Prepare the product XLSX file.
- Review the Product Template Documentation.
- Upload the XLSX file to Migrato.
- Review the product data.
- Select Merge to update existing products and create new products.
- Start the import.
- Monitor the migration job.
- Review the migration results.
 Free plan forever